Hello!
So.
I have to block my
Test-Knit socks.
And I promised a tutorial on how to block acrylic a
few posts ago.
So, here we go.
You'll need four things.
1) Two towels.They should be ones you won't worry about too much if they get a bit of dye bleeding out. It shouldn't happen, but it can; and the last thing you want is your nice towels with a stain on them.
2) An Iron that has a steam setting. If you don't have a steam setting, there is a work-around.
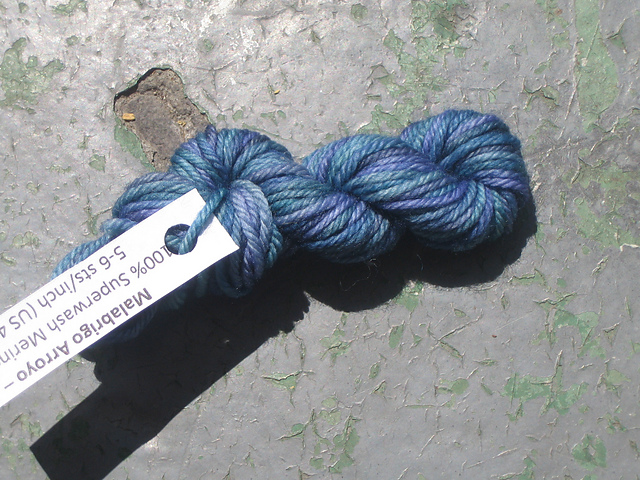
3) The object you want to block, in this case, my sock,
4) And water. I figure that doesn't need a picture.
Take your object and get it really wet with cold (or at least room-temperature) water. For this sock, running it under a tap for a few minutes should suffice.
If it's a bigger project, you might have to immerse it in water. Try not to rustle it around too much, you don't want to accidentally felt any natural fibers, or cause any ends to come out.
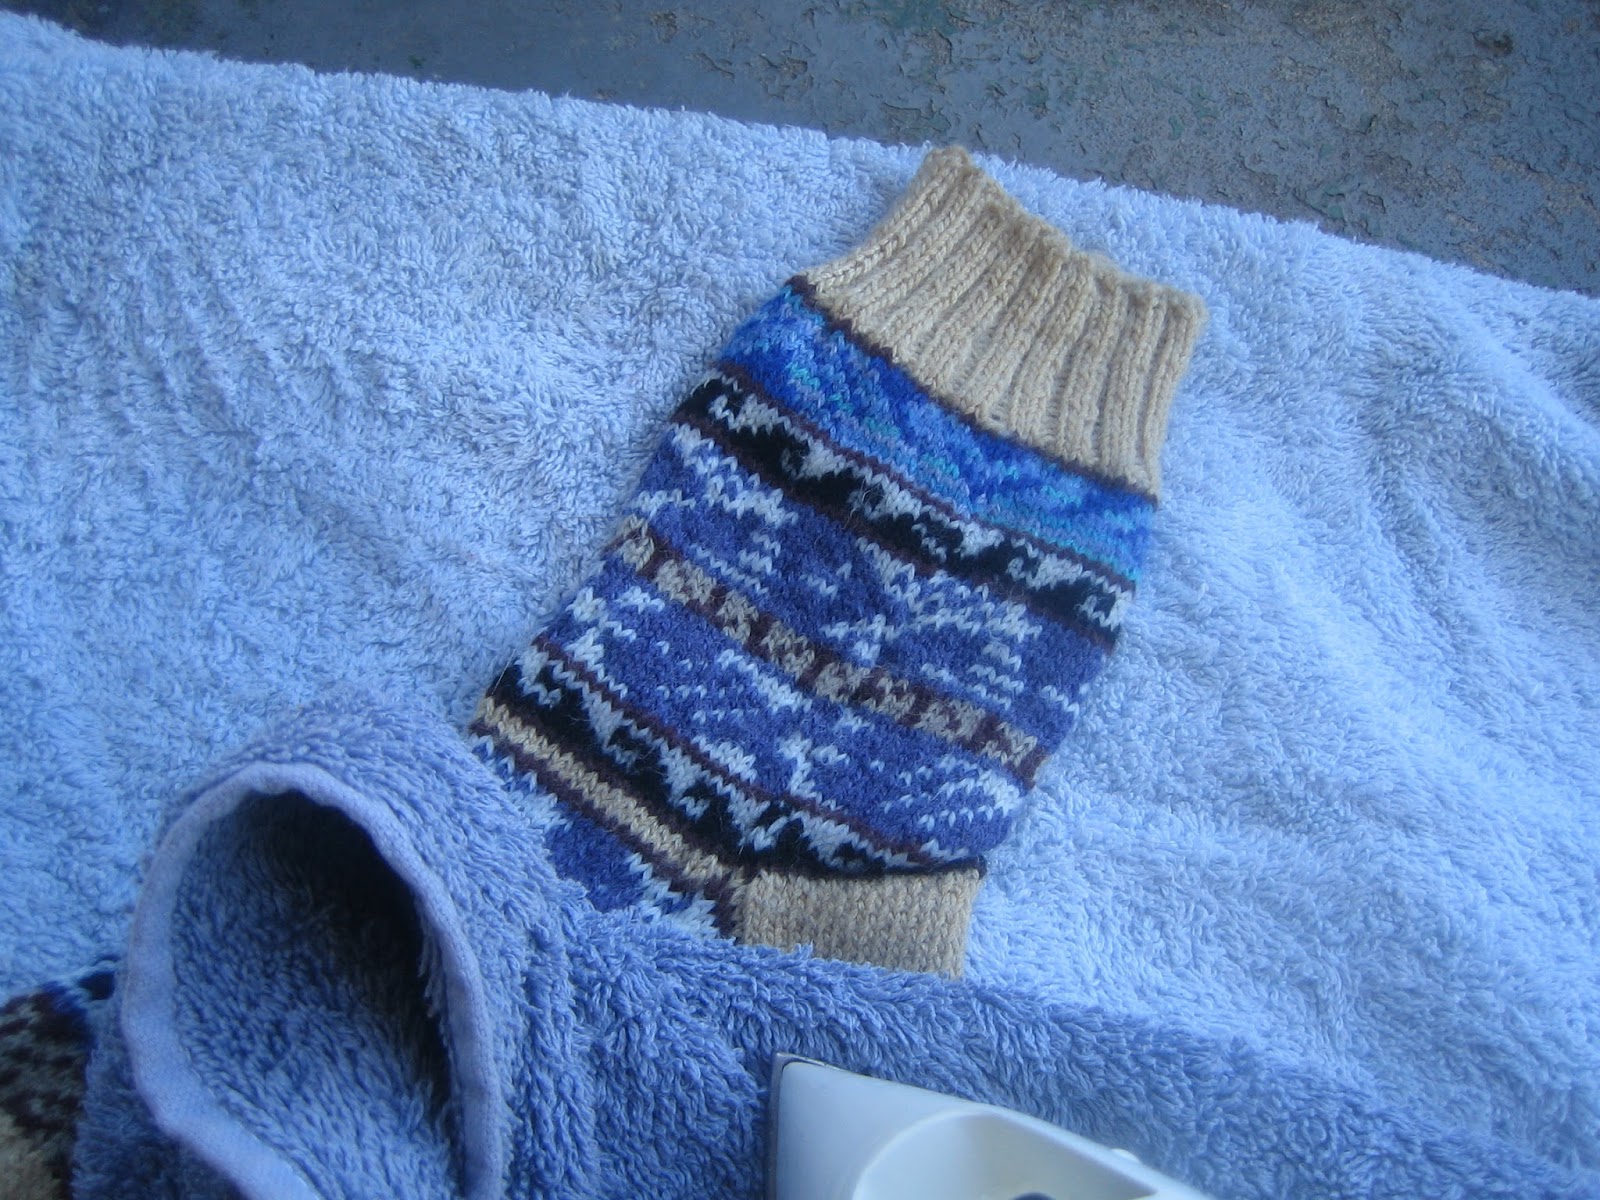
Put it on a towel to transfer it to a flat surface. Here, I've got it outside on our balcony. Then, cover it with a single layer of the other towel. (The single layer part's important.)
Now, iron the object with the towel over top of it. Use the steam setting.
Be cautious, though. Since this sock is partially acrylic fibers, we don't want too much heat. Blocking acrylic is permanent, as you're actually melting the fiber just a bit (acrylic is basically plastic, after all!). If you over-block acrylic, you 'kill' it, which takes away all elasticity and gives it quite a bit of drape. "Killed" acrylic can be useful for some things, but a sock isn't one of them. And because this is a mixed fiber project, killing the acrylic would be a bad thing, since the wool wouldn't change nearly as much. I'd have hideous tension problems. So, block anything with acrylic in small increments. It's better to do too little and have to do more, then do too much. You can't undo blocking acrylic, unlike blocking natural fibers.
You want a single layer of towel between the iron and the object. This allows heat and steam transfer without scorching the acrylic (you'll scorch and melt the acrylic if you put the iron on it directly, this is a no-no!)
If you want to be cautious, you can do a double-layer of towel and take more time.
If you don't have a steam iron, boil some hot water and keep a small bowl of it nearby. Pour it onto the towel in small amounts, making sure it soaks through both the towel and the finished object.
Here, we're blocking up near the cuff. Since again, "killing" acrylic
is irreversible, I've pulled the towel down so I can see and don't
accidentally "kill" the cuff, because the cuff is acrylic, and the one
spot in the sock where I really need the elasticity.
Once you do one side of the object, flip it over (if necessary) and repeat on the other side.
And there you go, there's your finished object, all set to wear. Put it
on as soon as you can stand the heat, so it will dry into shape.
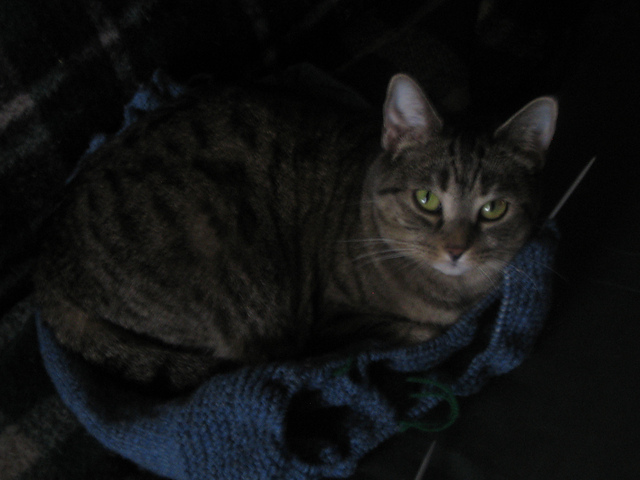
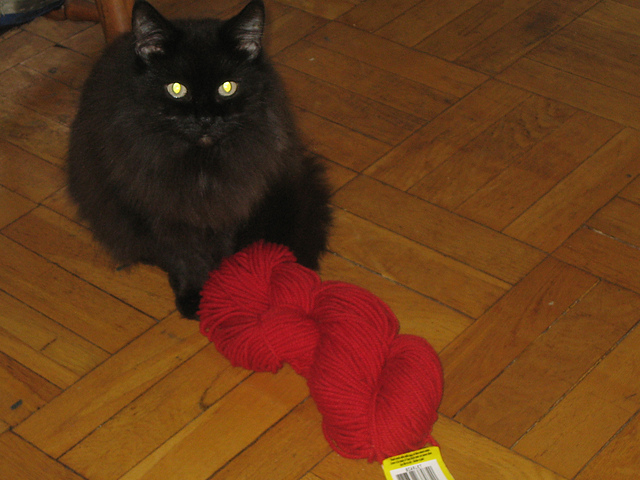
Finally, since no project is complete without kitty-assisted blocking (as demonstrated by
this Ravelry thread, and to a lesser extent in
this Ravelry thread) I had a fuzzy little helper, who also liked to get in the way!
Isn't she cute?
So, I hope this helps some people, and proves that acrylic (and mixed-fiber projects) can be blocked. If you're looking for more information on blocking, there's oodles of info and examples on
this Ravelry thread (which is where I got a lot of my information from, too!)